Putting the Printrbot+ to work
The Printrbot has been a blast already, but the adventure has only begun.
This week marked a turning point in my 3D printer project: on Monday I switched from tinkering with getting it assembled, to tinkering with getting the assembly to print! Here's my first test print, to the left of the second:
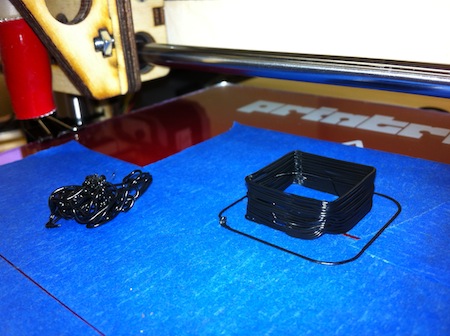
As with the assembly, where I needed to wait for parts and wait for debugging inspiration, printing requires quite a bit of patience. There are a bazillion settings and tunings for the whole process, but the most mysterious and the most critical part of it all is getting the first layer right. The first pass of hot filament really likes to peel and scatter, and if it gets its way, the print is almost inevitably ruined.
The blue stuff on the glass is just painters masking tape. It provides something of a rough enough surface for the hot filament to stick to, while still being smooth enough to let the part loose when it's finished. It's certainly not foolproof though.
I'm interested to try ABS juice or sugar water at some point, but some Kapton tape arrived yesterday first. It's not particularly cheap, but I found a good enough deal after my first long evening of failing prints to give it a shot. Kapton tape is rumored to provide a significantly better surface than painters tape; I'll find out soon enough!

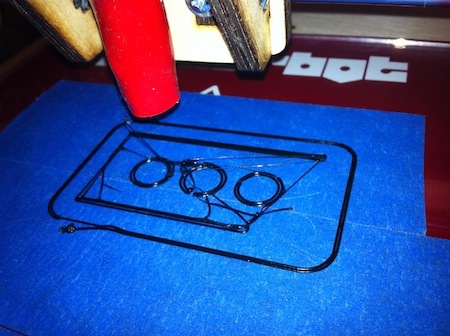
Meanwhile, even just the painters tape was good enough to get started after some practice this week. The main secret (as I suspect is the case on any surface) is just getting the initial z-axis height right. This means not only getting the bridge ends level and the z-stop adjusted every time the machine warms up, but also being ready to tweak the height by manually turning the threaded rods as the skirt prints. (The skirt is just for this very purpose: a practice round to make sure the filament is flowing smoothly and sticking well.) Don't be afraid to have a very squished/flat first layer if that's what it takes to have it stick. Certainly not ideal, as it requires more clean up on some parts, but better than the alternative.
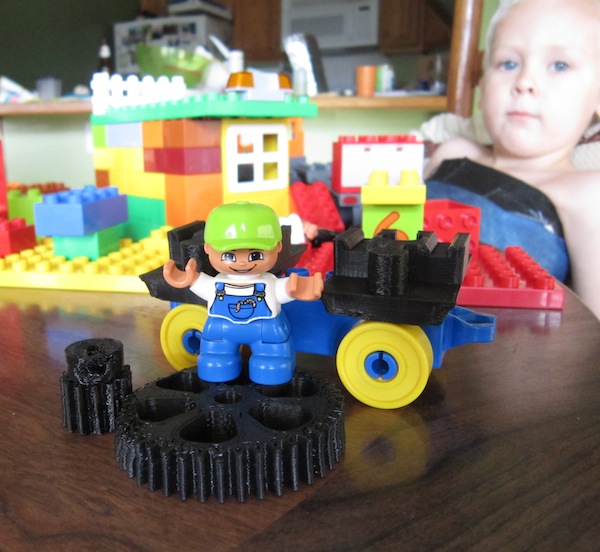
Next step is getting everything fine tuned, printing at high enough resolution to yield some reasonable quality spare parts for the printer itself. At that point most of the Thingiverse opens up and imagination becomes the primary limiting factor.