Assembling a Printrbot Plus
Last week a friend gave me the Printrbot Plus he backed on Kickstarter! I suspect he gave up finding the time for it; the box label says it originally shipped on June 14 :-)
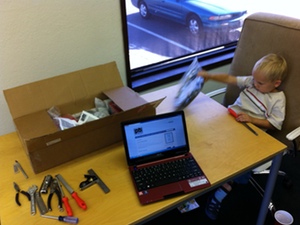
I'm super excited to have a 3D printer. Toby is too; he's eager for me to get done "fixing" it and start printing toys and parts we've found on Thingiverse. [He recently broke his femur and will be in a hip spica cast for a while. He's been doing a lot of Duplo at the table lately. Being able to extend his toy sets in interesting ways could be fun.]
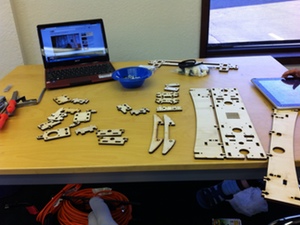
Opening the box and pulling out myriad parts and pieces and fasteners, I was a bit overwhelmed myself. The official instruction page don't provide a very smooth start. (There are three different Printrbot models to sort through, none of the parts diagrams include big-picture context or step-by-step instructions, and the "Building the Printrbot LC and PLUS" videos I tried to start with were sort of confusing and lite on any actual assembly.) It seemed like the official stuff was all aimed at people who had already built other printer kits or who had been closely following the project from day one; I just had a huge box of parts and desperately wanted someone to please say which two pieces I should start with!
What really helped was an (in progress) series of unofficial Printrbot Plus–specific assembly videos by "Craig the Fabricator". The ones that have been uploaded so far got me off from a great start to a point where the official videos became easier to follow. I found a wiki with reasonably good step-by-step assembly instructions that has been indispensable as well.
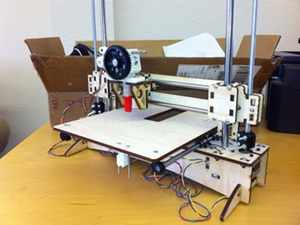
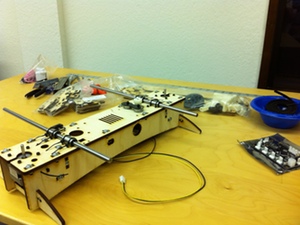
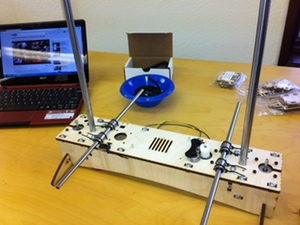
I'm currently stuck waiting for Printrbot HQ to send some missing bearings for the z-axis as well as (hopefully) some replacement plastic parts for the extruder head that got cracked. When it's done, I'm hoping to get competent enough with it to have it be something of a community resource for Room to Think members and friends. In the meantime, I've got a replacement balloon to keep flying and plenty of work to keep up with.